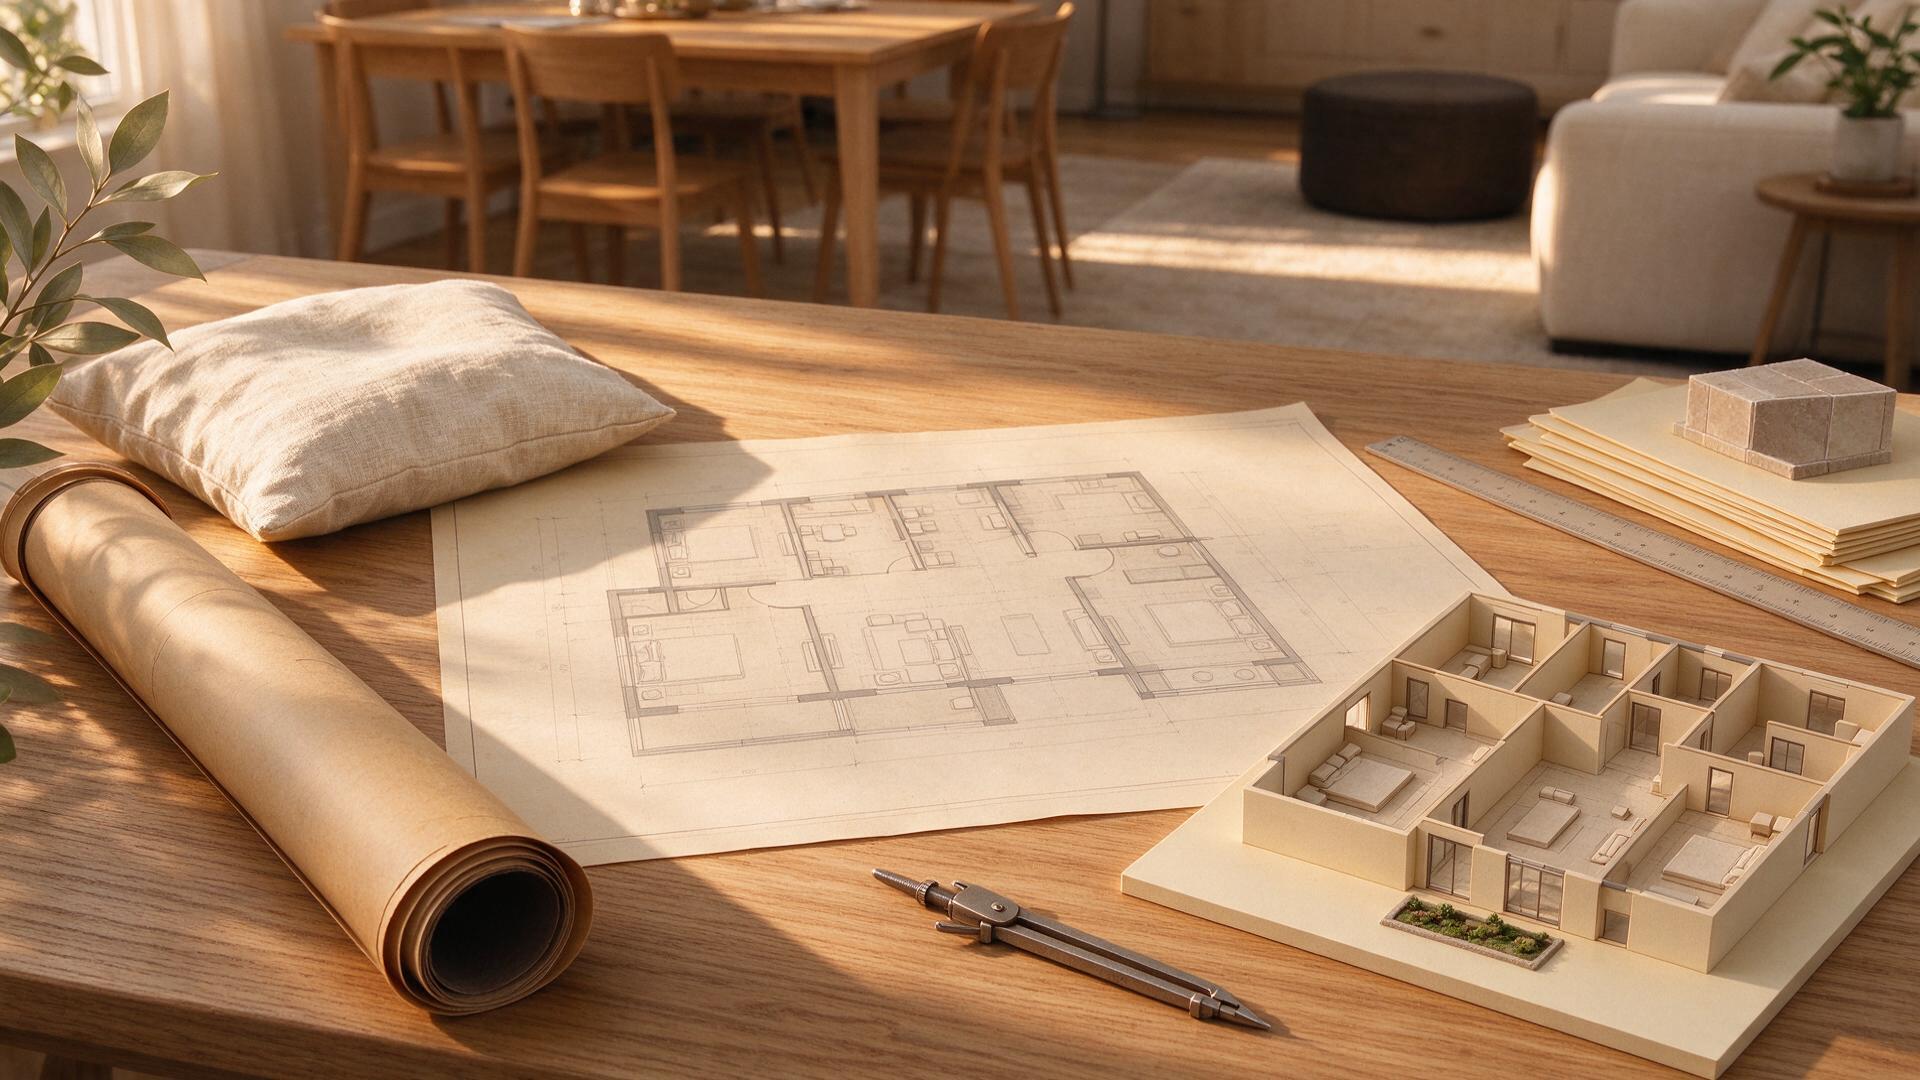
To convert a 2D floor plan to a 3D walkthrough, upload an architectural sketch or blueprint image, calibrate its scale using a known wall length, verify wall and opening boundaries, and enter an interactive eye-level camera view. Modern geometry engines automate the recognition process, letting homeowners, renters, realtors, and designers navigate realistic interior spaces within minutes directly in a web browser.
Converting flat architectural drawings into spatial visualizations bridges the gap between abstract blueprints and real-world spatial awareness. Whether you are reconfiguring a living room layout or showing a property listing, turning line drawings into navigable spaces eliminates guesswork.
What Is a 2D to 3D Floor Plan Conversion?
A 2D to 3D conversion transforms flat raster blueprints into three-dimensional, navigable digital environments. Instead of deciphering static black-and-white lines, users interact with vertical walls, placed windows, doors, and interior furnishings.
FloorPlanTo3D combines AI architectural recognition with an interactive 2D/3D geometry engine. This system parses visual floor plan geometry into structured objects, allowing instant switching between overhead planning perspectives and immersive first-person tours.
Converting static blueprints offers three practical advantages over 2D drawings:
- True Proportions: Viewing structural elements in three dimensions reveals clearances that flat paper drawings obscure.
- Sightline Clarification: An eye-level perspective illustrates daylight diffusion and room-to-room visibility before moving furniture.
- Accessible Communication: Clients, contractors, and family members can interpret project scopes without needing architectural training.
4 Steps to Convert 2D Floor Plan to 3D Walkthrough
You can turn any standard architectural drawing into an explorable interior model using a streamlined four-step workflow: upload, calibrate, refine, and tour.
+------------------+     +-------------------+     +------------------+     +--------------------+
|  1. Upload Plan  | --> | 2. Calibrate Scale| --> |  3. Refine Walls | --> | 4. Launch 3D Tour  |
|  (JPG/PNG/WebP)  |     |  (Known Dimension)|     |   and Furniture  |     |  (Eye-Level Mode)  |
+------------------+     +-------------------+     +------------------+     +--------------------+
Step 1: Upload Your 2D Floor Plan Image
Begin by preparing a clean image file of your architectural blueprint, marketing brochure plan, or dimensioned sketch.
FloorPlanTo3D allows users to upload JPG, PNG, or WebP images up to 8 MB to recognize floor plan walls, doors, and rooms automatically. To get the cleanest automated detection, ensure your image is high-contrast, cropped to exclude unnecessary borders, and oriented with horizontal walls aligned squarely.
Step 2: Calibrate Dimensions and Wall Scale
Accurate spatial depth requires establishing a precise real-world scale from the start.
The review workspace allows users to set scale using a known measurement and adjust walls, doors, and windows against the original image. Pick a long interior wall with an explicit measurement marking on your original plan and type in the exact distance. Calibrating across longer walls minimizes baseline rounding errors across adjacent rooms.
Step 3: Refine Partitions, Doors, and Furniture
Once the initial recognition generates your baseline model, compare the digital overlay directly on top of the original blueprint image.
Check that room partitions sit over the source drawing lines, ensure door swing directions mirror reality, and confirm window placements. At this stage, place essential furnishings—such as sofas, kitchen islands, and beds—to verify clearance pathways and room functionality. This layout review ensures circulation paths remain unobstructed before evaluating camera angles.
Step 4: Launch the Eye-Level 3D Walkthrough
After refining structural elements and furnishings in overhead mode, switch the camera perspective to view the model at human eye level.
The editor provides 2D floor plan editing, a 3D overview mode, and an eye-level room walkthrough. Navigating the virtual interior enables you to examine door clearances, explore room-to-room transitions, and check how natural daylight illuminates different living zones throughout the space.
The Spatial Verification Framework: What to Review Before Touring
When evaluating a converted layout, small scaling mistakes can skew sightlines and furniture spacing. Use this spatial verification checklist to validate your digital model against your original image before making furniture or layout decisions:
| Verification Stage | Focus Area | What to Inspect |
|---|---|---|
| Baseline Scale | Dimension string calibration | Ensure standard doorways measure approximately 30 to 36 inches wide; verify main room spans match labeled dimensions. |
| Boundary Alignment | Exterior and interior partition tracing | Align digital walls with the center or interior surface of original lines; verify wall intersections meet at right angles. |
| Circulation Corridors | Hallways and transitional zones | Confirm walk paths provide at least 36 inches of unobstructed clearance between walls and furniture corners. |
| Aperture Accuracy | Window and door placements | Match door swing directions with the source drawing to ensure doors do not clip into tables or cabinets. |
| Visual Depths | Eye-level viewing perspectives | Check sightlines from main seating areas toward windows, entryways, and adjacent entertainment spaces. |
Applying this structured check helps detect spatial misalignments early, whether you are planning an extensive interior remodel or testing a furniture layout planning concept.
Practical Applications for Visual Walkthroughs
Navigating floor plans interactively solves specific planning hurdles across different residential scenarios:
- Residential Remodelers: Active renovators can experiment with spatial arrangements, assess natural daylight behavior across living zones, and test fixture placements.
- Homebuyers and Renters: Moving into a new apartment or single-family house often involves evaluating whether existing furniture fits without measuring every room by hand on site.
- Real Estate Professionals: Digital walkthroughs provide prospective buyers with a spatial understanding of room relationships that standard wide-angle photos cannot replicate.
- Interior Designers: Visual models clarify sightlines and functional zones during early space planning and 3D visualization sessions with clients.
Plan Options and Account Workflow
Getting started with digital floor plan conversion is straightforward:
- Free Plan: Signing in with Google provides 3 free home design credits to try the studio. The Free plan includes full floor plan editing, space planning, scale calibration, furniture layout, daylight simulation, and 3D walkthrough.
- Library Persistence: Previously generated floor plans remain permanently accessible and editable in the account library without consuming extra credits.
- Pro Plan: The Pro plan provides 100 monthly floor plan design credits for $12 per month or $9 per month billed annually ($108 yearly).
- Advanced Render Options: The Pro plan adds 100 monthly floor plan design credits and one-click hand-off of 3D views to partner service Roomagic for AI interior renders; editing, furniture layout, flooring materials, area figures, daylight and 3D walkthrough are available on every plan. Photorealistic AI interior renders and design reports are powered and billed separately by partner service Roomagic.
To explore related modeling strategies, check our guide on 3D room walkthrough techniques.
Frequently Asked Questions
What image formats can I upload to convert my floor plan?
You can upload JPG, PNG, or WebP floor plan images up to 8 MB to recognize walls, openings, and rooms automatically. PDF or CAD files must be exported as standard image files before uploading.
Can converted 3D models determine if a wall is load-bearing?
No. Converted models are conceptual planning tools for spatial layout and visual exploration. They do not represent survey-accurate measurements and cannot be used as evidence that a wall can be removed safely. Always consult a licensed structural engineer or architect for structural and building-services questions.
Do I lose access to converted layouts if I do not upgrade?
No. Previously generated floor plans remain permanently accessible and editable in your account library without consuming extra credits.
Can I adjust room dimensions after the automated conversion?
Yes. The interactive review workspace lets you adjust wall positions, modify door and window dimensions, reposition furniture, and calibrate scales against the original drawing at any time.